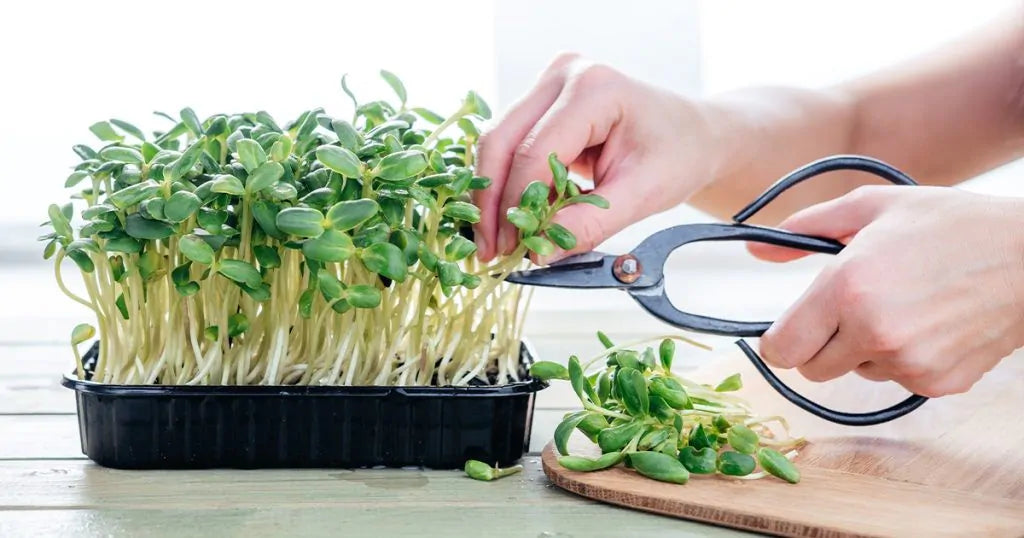
What are Microgreens?
Have you ever wondered how to get the most out of your growing space while spending less on energy and feeding yourself flavorful and healthy foods? Hydroponics offers plenty of options, but there is one that stands above in efficiency and innovation: growing microgreens. Microgreen is another word for a plant that is harvested in the first stage of its growth, when it is only 1-3 inches tall. In recent years they have become more popular for the dense nutrient and flavor content, short growing periods, and easeful harvesting and turnaround. Their versatility makes them a great investment for both at-home personal use and for scaling up to a sellable product. They are also an excellent choice for improving diet and overall wellbeing.
How Nutritious Are Microgreens?
Since microgreens are harvested at such an early stage, their essential nutrients have not yet been diluted and dispersed. They remain concentrated in the small stems and leaves, allowing for a nourishing burst of vitamins, minerals, antioxidants and flavor. Studies have also shown that microgreens have a higher protein content than other vegetables, and can help reduce the risk of cardiovascular disease and chronic diseases. While this does not mean they should be a main source of protein in a diet, they can be a great supplement to any meal.
Growing microgreens hydroponically enhances their nutritional value in a multitude of ways:
- There is reduced competition in hydroponics. As plants grow in an outdoor environment, individual plants must fight more for space and light. Young microgreen plants have not yet reached this stage, and grow more compactly. The result of a successful hydroponic microgreen operation is essentially a thick mat of equally nutrient-packed plants. Microgreens also do not have other plant species to contend with, as each variety grows together in a single tray.
- Since hydroponics uses a controlled environment, microgreens are at less risk of volatile climactic events. In turn, they have shorter growth periods and increased growth rates. The average growth period of microgreens is 7 – 21 days, but in optimal conditions a grower can often find turnaround happening within 10-12 days.
- Hydroponic microgreens can be grown year-round, so there is a limit to the number of nutritional benefits you can reap. If you have a grow room that is clean and well-maintained, you can have access to reliable and efficient sources of nutrients any time of the year.
If you are to grow microgreens hydroponically, the following plants would all be an excellent addition to your hydroponic garden:
- Radishes
- Pea Shoots
- Kohlrabi
- Broccoli
- Cilantro
- Bok Choi
- Amaranth
- Arugula
An Easy, DIY Method For Growing Hydroponic Microgreens:


Getting Started with Microgreens
Growing microgreens is a fun and exciting way to get involved in hydroponics. If you need help with equipment such as grow trays, mediums, and lights, Monster Gardens has a vast online selection to choose from. In addition, if you need advice on what seeds to choose and grow, we also have growing experts available every day who can answer your questions in person or over the phone.


